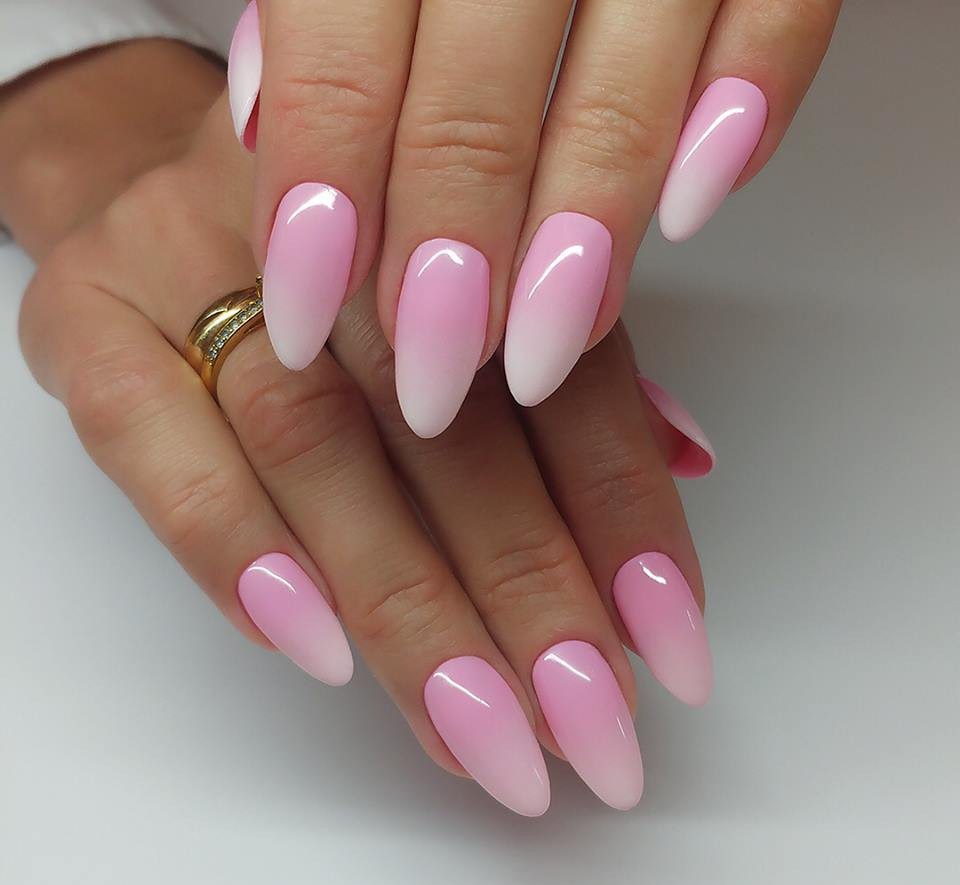
How To Remove Nail Gel Like A Pro: The Ultimate Guide
Removing gel nails doesn't have to be a nightmare. If you've ever wondered how to remove nail gel safely and effectively, you're in the right place. This guide will walk you through everything you need to know, from the tools you'll need to step-by-step instructions. Let's get your nails back to their natural beauty!
Picture this: you're staring at your gel nails, thinking, "Man, these things are stuck on like glue!" Don't worry, because removing gel nails is totally doable at home. In this article, we'll break it down for you so you can rock your natural nails again without damaging them.
We get it – salon visits can be expensive, and sometimes you just want to save some cash. That's why learning how to remove nail gel yourself is such a valuable skill. So, grab your tools, and let's dive in!
Why Removing Gel Nails at Home is a Game-Changer
Let's talk about why doing it yourself is such a big deal. First off, it saves you money. Salons charge a pretty penny for removal, and if you're doing it yourself, you're cutting those costs down to almost nothing. Plus, it's super convenient. No more scheduling appointments or waiting around – you can do it whenever you want!
And let's not forget about the DIY satisfaction. There's something incredibly satisfying about taking care of your own nails and knowing you've done a great job. Plus, with the right techniques, you can remove gel nails without damaging your natural ones. Win-win, right?
Tools You'll Need to Remove Gel Nails
Before we jump into the how-to, let's talk about what you'll need. Having the right tools makes all the difference when you're removing gel nails. Here's a quick list:
- Nail file (coarse side)
- Cotton pads
- Acetone nail polish remover
- Aluminum foil
- Cuticle oil (optional but recommended)
- Nail clipper or orange stick
- Nail buffer (for finishing touches)
Now, some of these might seem obvious, but trust us, they're all important. Acetone is the key player here, so make sure you've got a good quality one. And don't forget the cuticle oil – it'll help keep your nails hydrated and healthy after the process.
Step-by-Step Guide on How to Remove Nail Gel
Prepping Your Nails
Alright, let's get started. The first step is to prep your nails. Start by filing down the gel coat. You don't have to remove it completely, just enough to roughen the surface. This helps the acetone penetrate better. Use the coarse side of your nail file for this step.
Once you've filed down the gel, clean your nails with a non-acetone polish remover. This removes any oils or dirt that might interfere with the acetone later on. Your nails should be nice and clean before you proceed.
Applying Acetone
Now comes the fun part – applying the acetone. Take a cotton pad and soak it in acetone. Then, place the soaked cotton pad on your nail. Make sure it's covering the entire nail surface.
Next, wrap the cotton pad with aluminum foil. This creates a seal that keeps the acetone in contact with your nail. Repeat this process for each nail. It's kind of like giving your nails a little spa treatment, but with a bit more intensity.
Waiting for the Magic to Happen
Once all your nails are wrapped, it's time to wait. Give it about 15-20 minutes. During this time, the acetone will start breaking down the gel. Don't rush this step – patience is key here. While you're waiting, maybe grab a snack or scroll through your phone. Just make sure to keep your hands elevated to avoid any leaks.
Removing the Gel
After the waiting period, carefully unwrap the foil and cotton pads. If everything went well, the gel should start lifting off. Use a nail clipper or orange stick to gently push the gel off. Be careful not to dig too hard – you don't want to damage your natural nails.
Once all the gel is removed, take a look at your nails. They might look a little dry, which is totally normal. That's where the cuticle oil comes in. Massage a bit of oil into your cuticles and nails to keep them moisturized.
Common Mistakes to Avoid
Let's talk about some common mistakes people make when removing gel nails. One of the biggest ones is using non-acetone polish remover. While it might seem like a safer option, it won't do the job. Acetone is specifically formulated to break down gel, so it's a must-have.
Another mistake is rushing the process. If you don't let the acetone sit long enough, the gel won't lift properly. And finally, don't forget to moisturize after! Your nails need that extra care to stay healthy and strong.
Tips for Keeping Your Nails Healthy
Moisturizing is Key
After removing gel nails, your nails might feel a little rough. That's why it's super important to keep them moisturized. Cuticle oil isn't just for show – it actually helps keep your nails hydrated and prevents them from cracking.
Give Your Nails a Break
It's also a good idea to give your nails a break between gel applications. Constant exposure to gel and acetone can weaken your nails over time. Let them breathe for a bit and maybe try a natural polish instead.
Use a Good Quality Buffer
If you want your nails to look smooth and polished after removal, use a buffer. It'll help even out any rough spots and give your nails a natural shine. Plus, it feels amazing – like a mini manicure all on its own.
Alternatives to Acetone
While acetone is the go-to for gel removal, some people prefer alternatives. There are acetone-free gel removers on the market that claim to be gentler on nails. However, they might take a bit longer to work. If you're sensitive to acetone, it might be worth giving them a try.
Another option is soaking your nails in warm water with dish soap. This can help loosen the gel, but it's not as effective as acetone. It's more of a temporary fix if you're in a pinch.
When to Visit a Professional
Even though removing gel nails at home is totally doable, there are times when it's better to leave it to the pros. If you have particularly stubborn gel or if you're worried about damaging your nails, a salon visit might be the way to go.
Professionals have access to specialized tools and techniques that can make the process faster and safer. Plus, they can give you a full manicure while they're at it. Sometimes, treating yourself to a little luxury is worth it.
Data and Statistics on Gel Nail Removal
According to a survey by the National Nail Association, about 60% of women who get gel nails prefer to remove them at home. It's clear that more and more people are opting for the DIY route. And why not? With the right information, anyone can do it safely and effectively.
Another interesting statistic is that acetone-based removers are about 95% effective in removing gel nails. This shows just how powerful acetone is when it comes to breaking down gel. So, if you're wondering whether it works, the answer is a resounding yes!
Final Thoughts and Call to Action
So there you have it – everything you need to know about how to remove nail gel at home. It's a skill that's worth learning, and with a little practice, you'll be a pro in no time. Remember to take your time, use the right tools, and don't forget to moisturize!
We'd love to hear about your experiences with gel nail removal. Did you try it yourself? What worked best for you? Leave a comment below and let us know. And if you found this article helpful, don't forget to share it with your friends. Let's spread the word about DIY nail care!
Table of Contents
- Why Removing Gel Nails at Home is a Game-Changer
- Tools You'll Need to Remove Gel Nails
- Step-by-Step Guide on How to Remove Nail Gel
- Common Mistakes to Avoid
- Tips for Keeping Your Nails Healthy
- Alternatives to Acetone
- When to Visit a Professional
- Data and Statistics on Gel Nail Removal
- Final Thoughts and Call to Action

Comment enlever des ongles en gel ? ongles.co

Comment enlever des ongles en gel ? ongles.co
Modele Ongles En Gel
